BMS Milk Cartons
Click here for Milk Carton Theater, brought to you by T. Gatto. Papercraft Milk Cartons below.
There are now so many Blue Milk Special Milk Cartons that we’ve split them up into four categories: Rebel, Imperial, fringe, Bounty Hunters and Other. You can find the character you’re looking for by choosing the appropriate category which will take you to a new page. All Milk Cartons designed by the amazing T. Gatto.
Still don’t see what you’re looking for? More BMS cartons and papercraft here.
PART 1 – Carton Assembly.
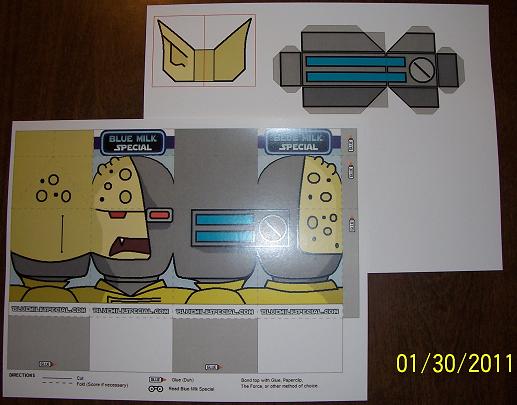
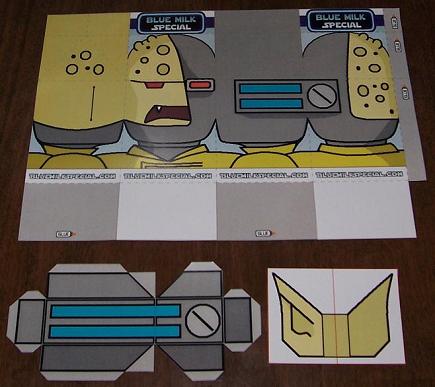
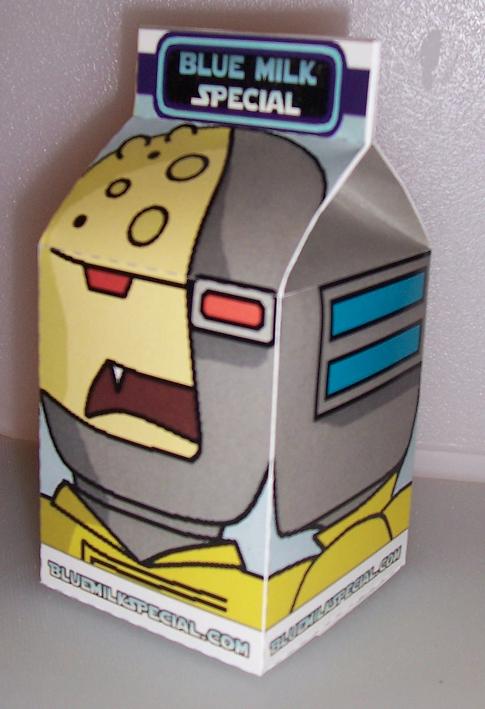
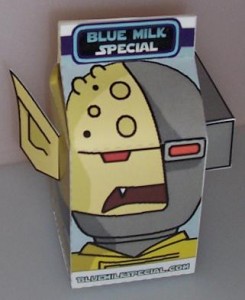
For today’s assembly I have chosen the carton formerly known as “The AWESOME Bounty Hunter known as Skorr” but now known as “Skorr the GREAT” (Thanks BMSer Sam) (Insert Editorial reply here).
Step 1 Print out the carton on cardstock paper, and assemble the necessary tools.
I have the images reduced to fit the page, all my carton pages and attachments are the same size (851 pixels by 642 pixels) and as long as the reduction is consistent the carton will still fit together. Thin cardstock will work, but you may need to reinforce the seams later on (more about this later).
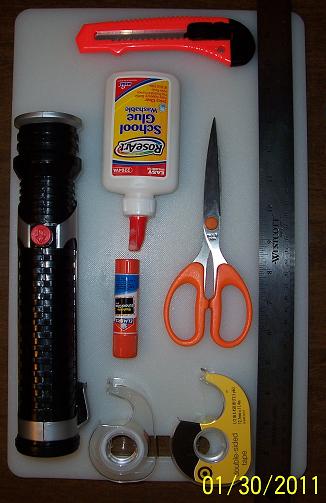
As for tools I recommend;
– A cutting board.
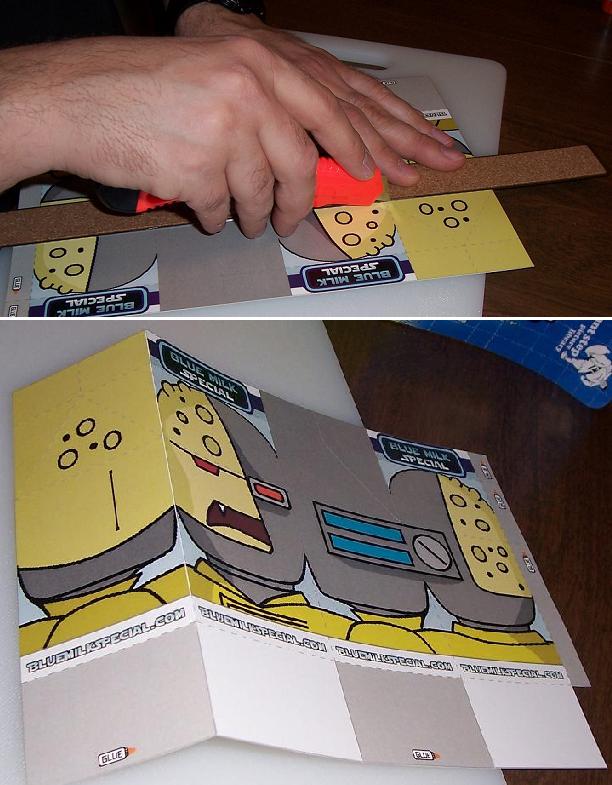
– A sharp hobby or carpet knife.
– A metal ruler.
– School/PVA glue (the new spreader tips work nice).
– A glue stick (The clear drying purple sticks also work nice).
– Scissors.
– Clear tape.
– Double sided tape.
– A light saber (for fending off Toddlers who want their carton NOW!).
– Some people use a ballpoint pen (out of Ink) instead of a knife for scoring (I have never tried this).
– Black, or colored, markers can also be used to cover up mistakes, and hide fold lines (The few times I tried this it works well, But I’m to lazy to do it all the time).


I understand what the lightsaber is for but what do you do with the scissors?
Thats for if my kids really don’t want to listen to me.
Do ears grow back?
Comments are closed.